


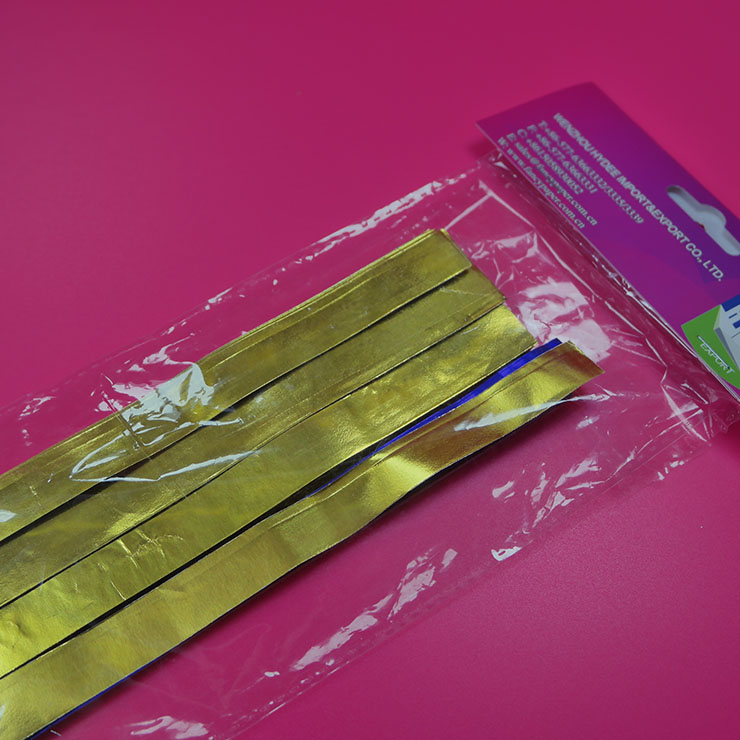


Metallic Origami Star Paper
Size: 1.5*35cm
Applications
l Hand-made gifts
l DIY
l Decoration
l Accessories
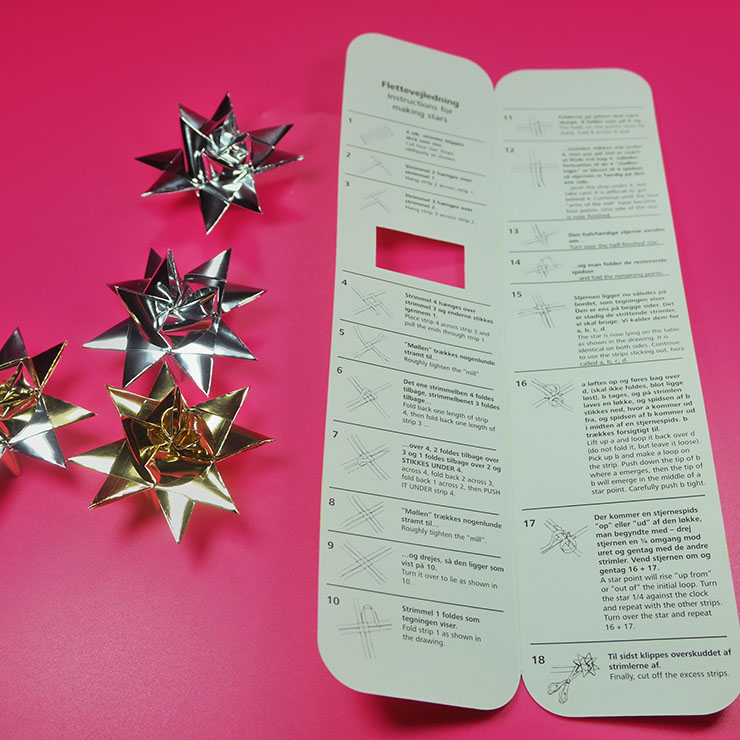
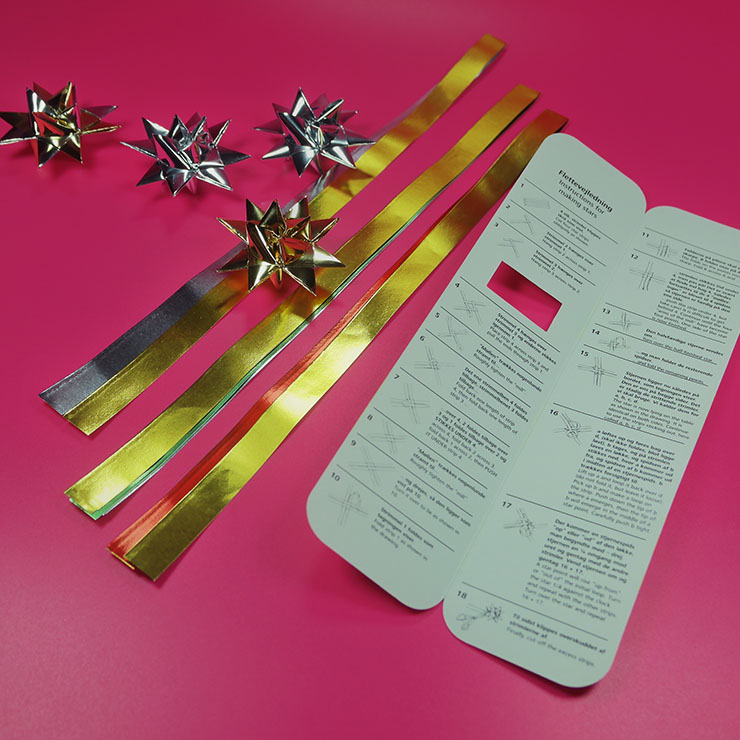
Instructions for making stars
1. Cut four star strips obliquely as shown.
2. Hang strip 2 across strip1.
3. Hang strip 3 across strip 2.
4. Place strip 4 across strip 3 and pull the ends through strip1.
5. Roughly tighten the “ mill”
6. Fold back one length of strip 4, then fold back one length of strip 3…
7. Across 4, fold back 2 across 3, fold back 1 across 2, them PUSH IT UNDER strip 4.
8. Roughly tighten the “ mill”.
9. Turn it over to lie as shown in 10.
10.Fold strip 1 as shown in the drawing.
11.The folds on the points must be sharp. Fold B across A and …
12. … push the strip under 4, but take care! It is difficult to get behind 4. Continue until the four “arms of the mill” have become four points. One side of the star is now finished.
13. Turn over the half-finished star.
14.… and fold the remaining points.
15. The star is now lying on the table as shown in the drawing. It is identical on both sides. Continue to use the strips sticking out, here called a, b, c, d.
16.Lift up a and loop it back over d (do not fold it, but leave it loose). Pick up b and make a loop on the strip. Push down the tip of b where a emerges, then the tip of b will emerge in the middle of a star point. Carefully push b tight.
17.A star point will rise “up from” or “out of “ the initial loop. Turn the star 1/4 against the clock and repeat with the other strips. Turn over the star and repeat 16 +17.
18. Finally, cut off the excess strips.
Share your creations
WENZHOU HYDEE IMPORT & EXPORT CO., LTD.